
Tap box 2.0 shapes a personal exploration about the connection between Computational Generated Images (P5.js) and Haptic Interfaces (Arduino + capacitive sensing) with one core shared element, sound. Therefore, the goal is to create a physical musical interface that creates both sounds and computer-generated visuals.
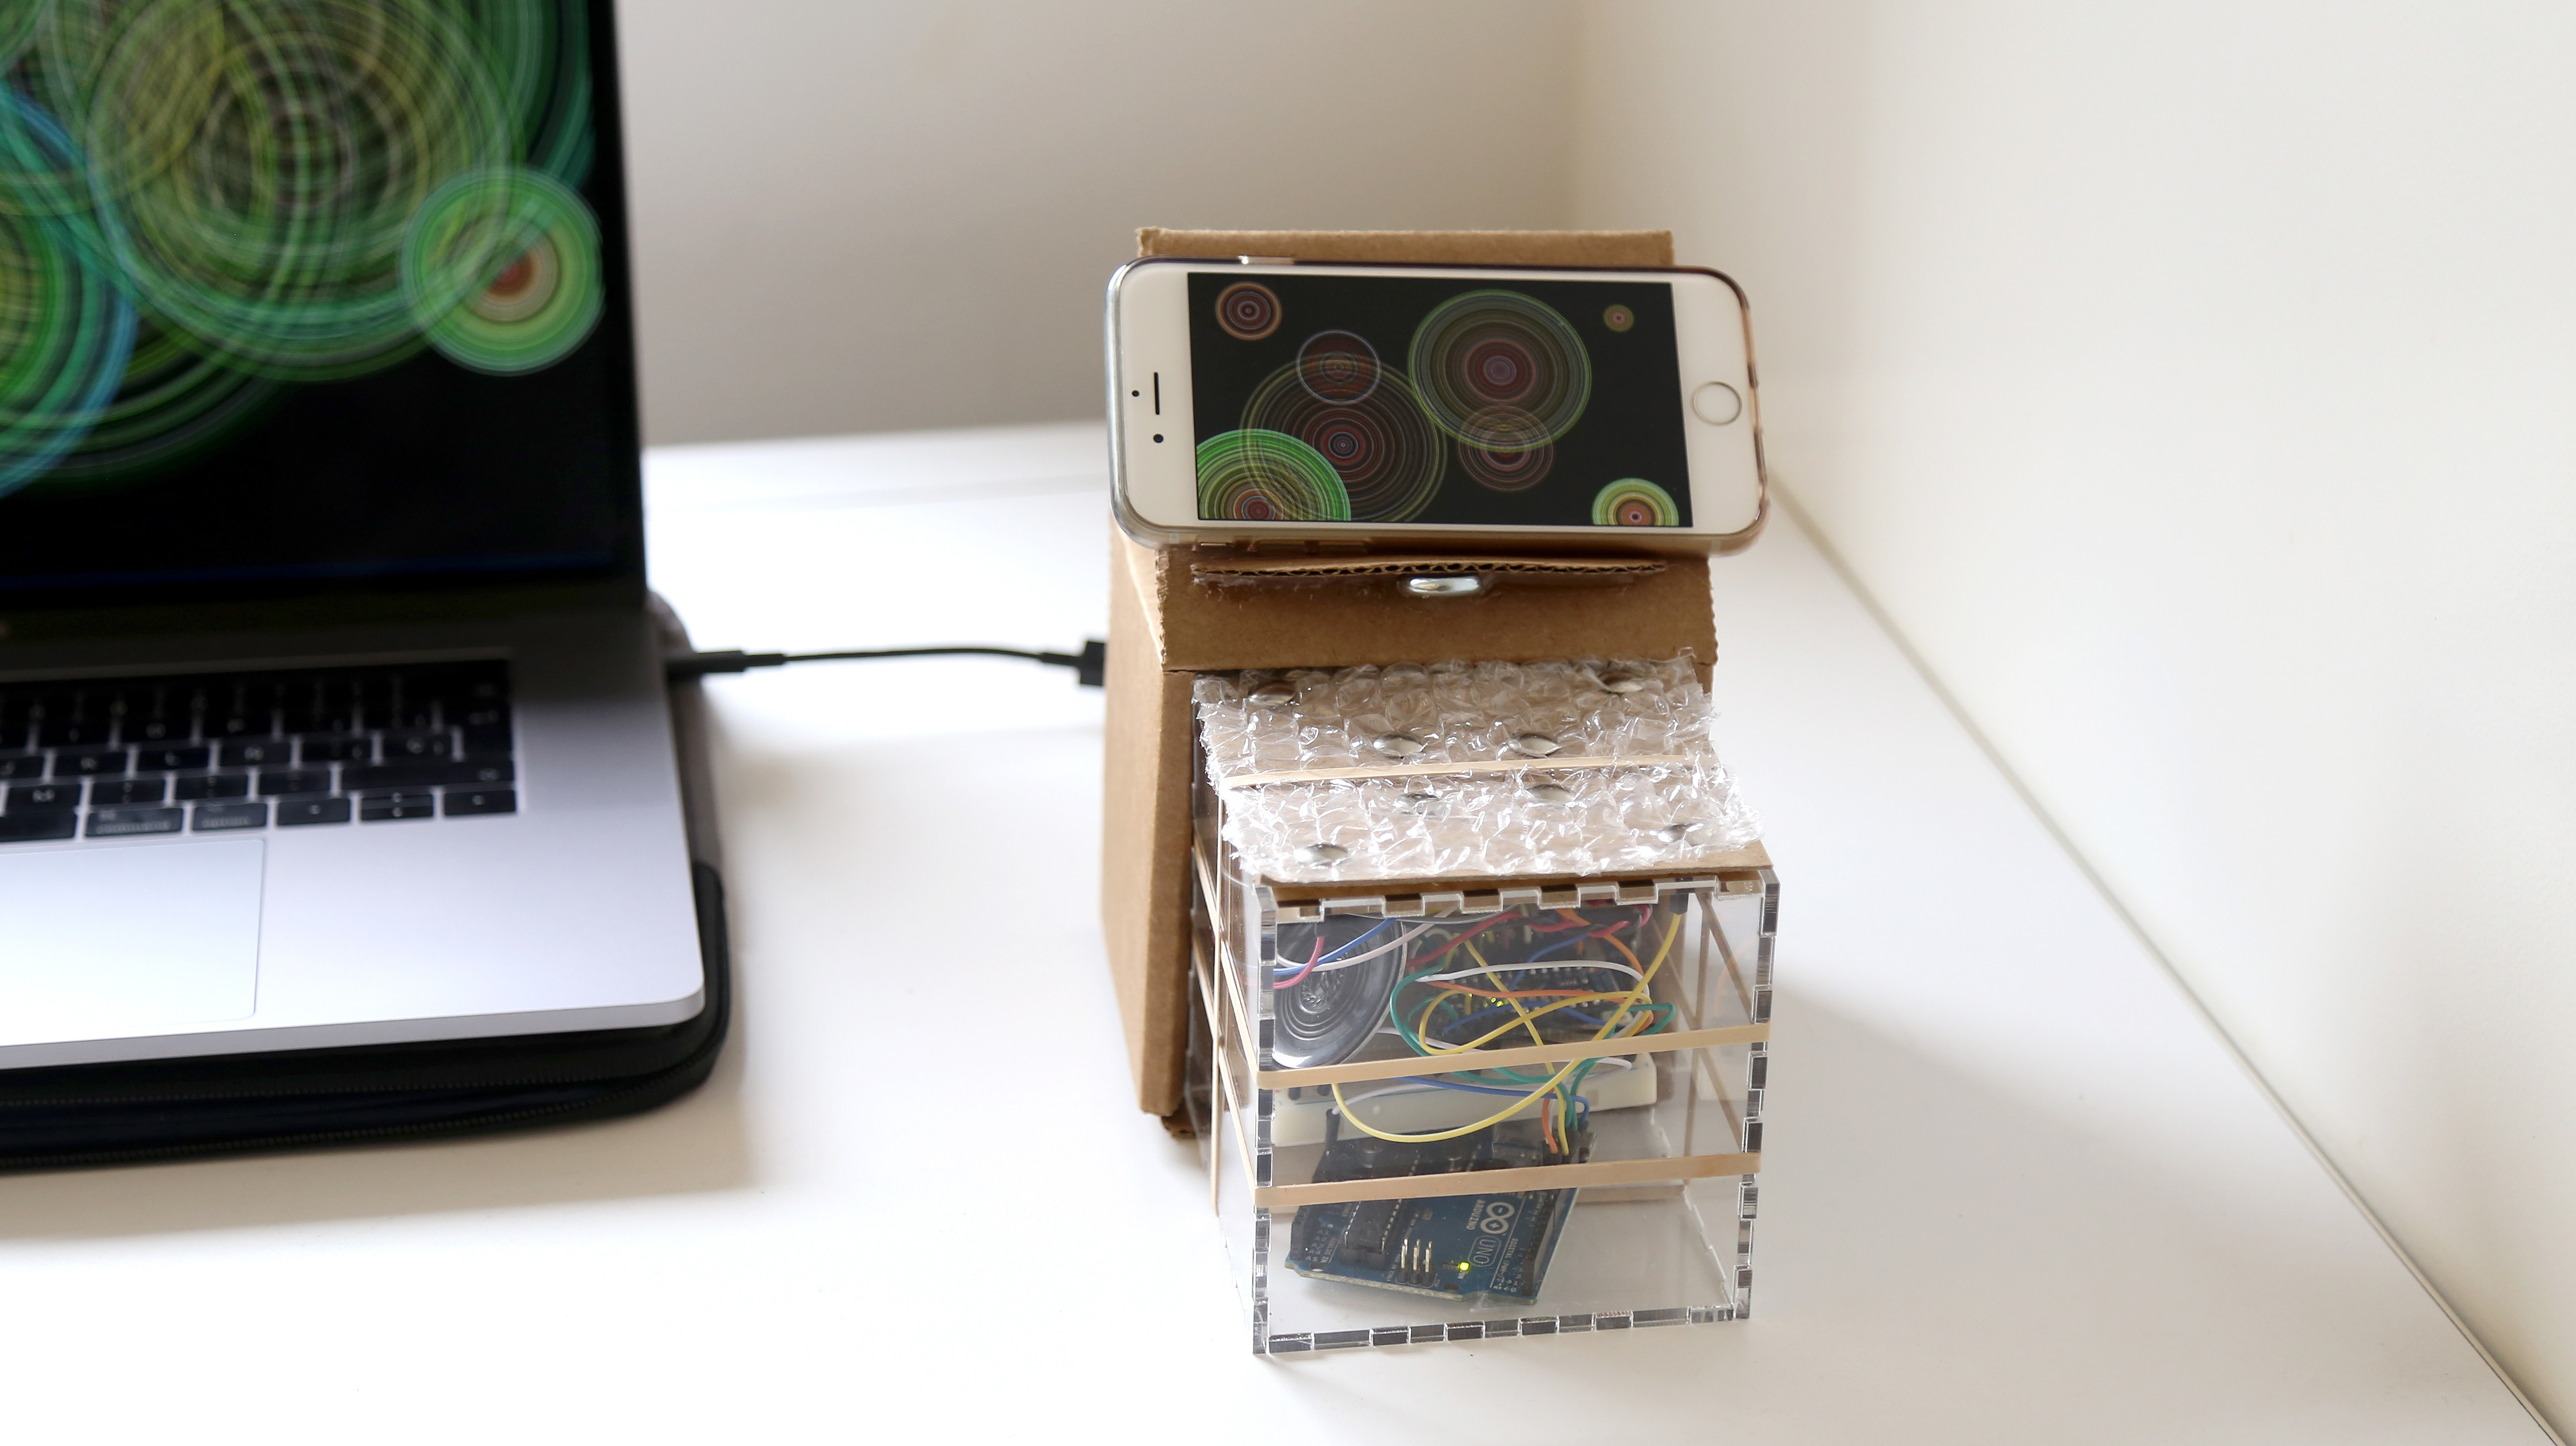
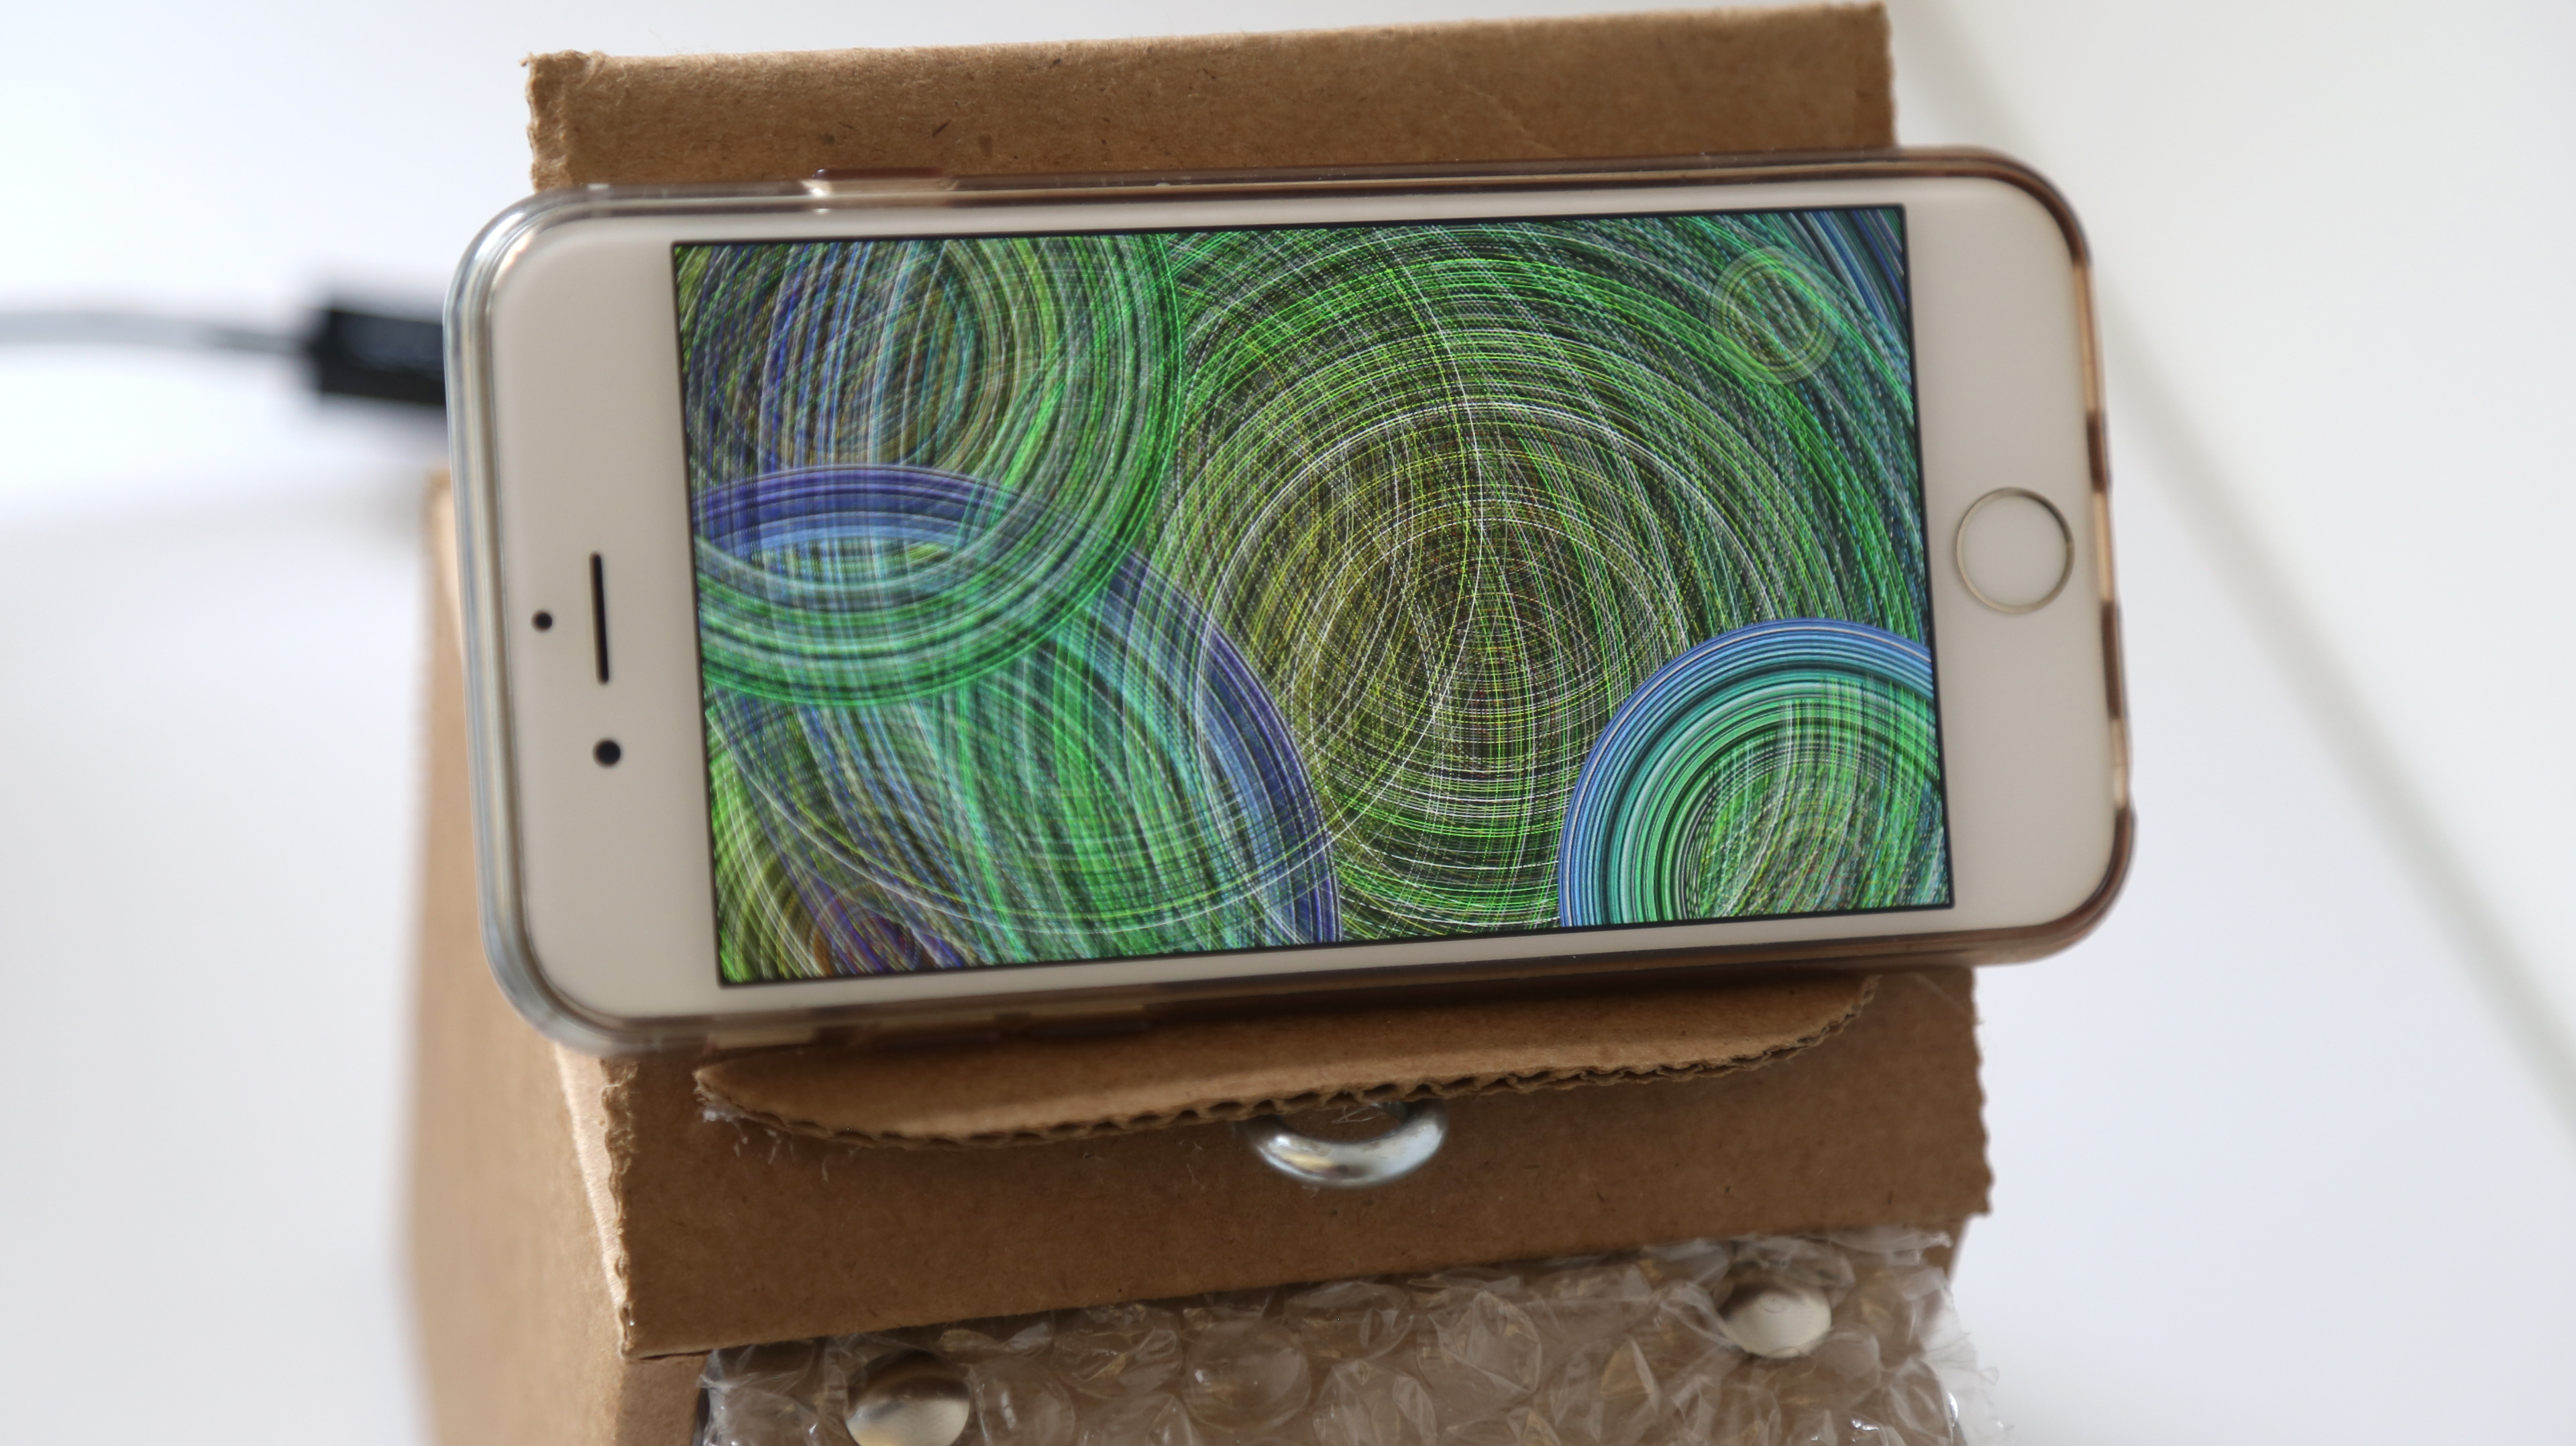
Tap box 2.0 is a haptic box system that translates a tactile musical interaction into a visual pattern resultant of the sequence generated.

This project takes places within a broader scope exploring physicality and materiality of data. In this case, the data provides from the different sounds triggered by capacitive sensors. The data represented corresponds to the number of times each note has been played.
DOCUMENTATION
Tap Box 2.0 was based on Tap Box
TAP BOX 1.0

How does the materiality and interface of an instrument affect its affordances and user experiences? This is first question that I asked myself before starting conceptualizing this project. The answer for me was to create a nondescript, programmable musical instrument that lends its users to create complex sound systems with simplistic input.

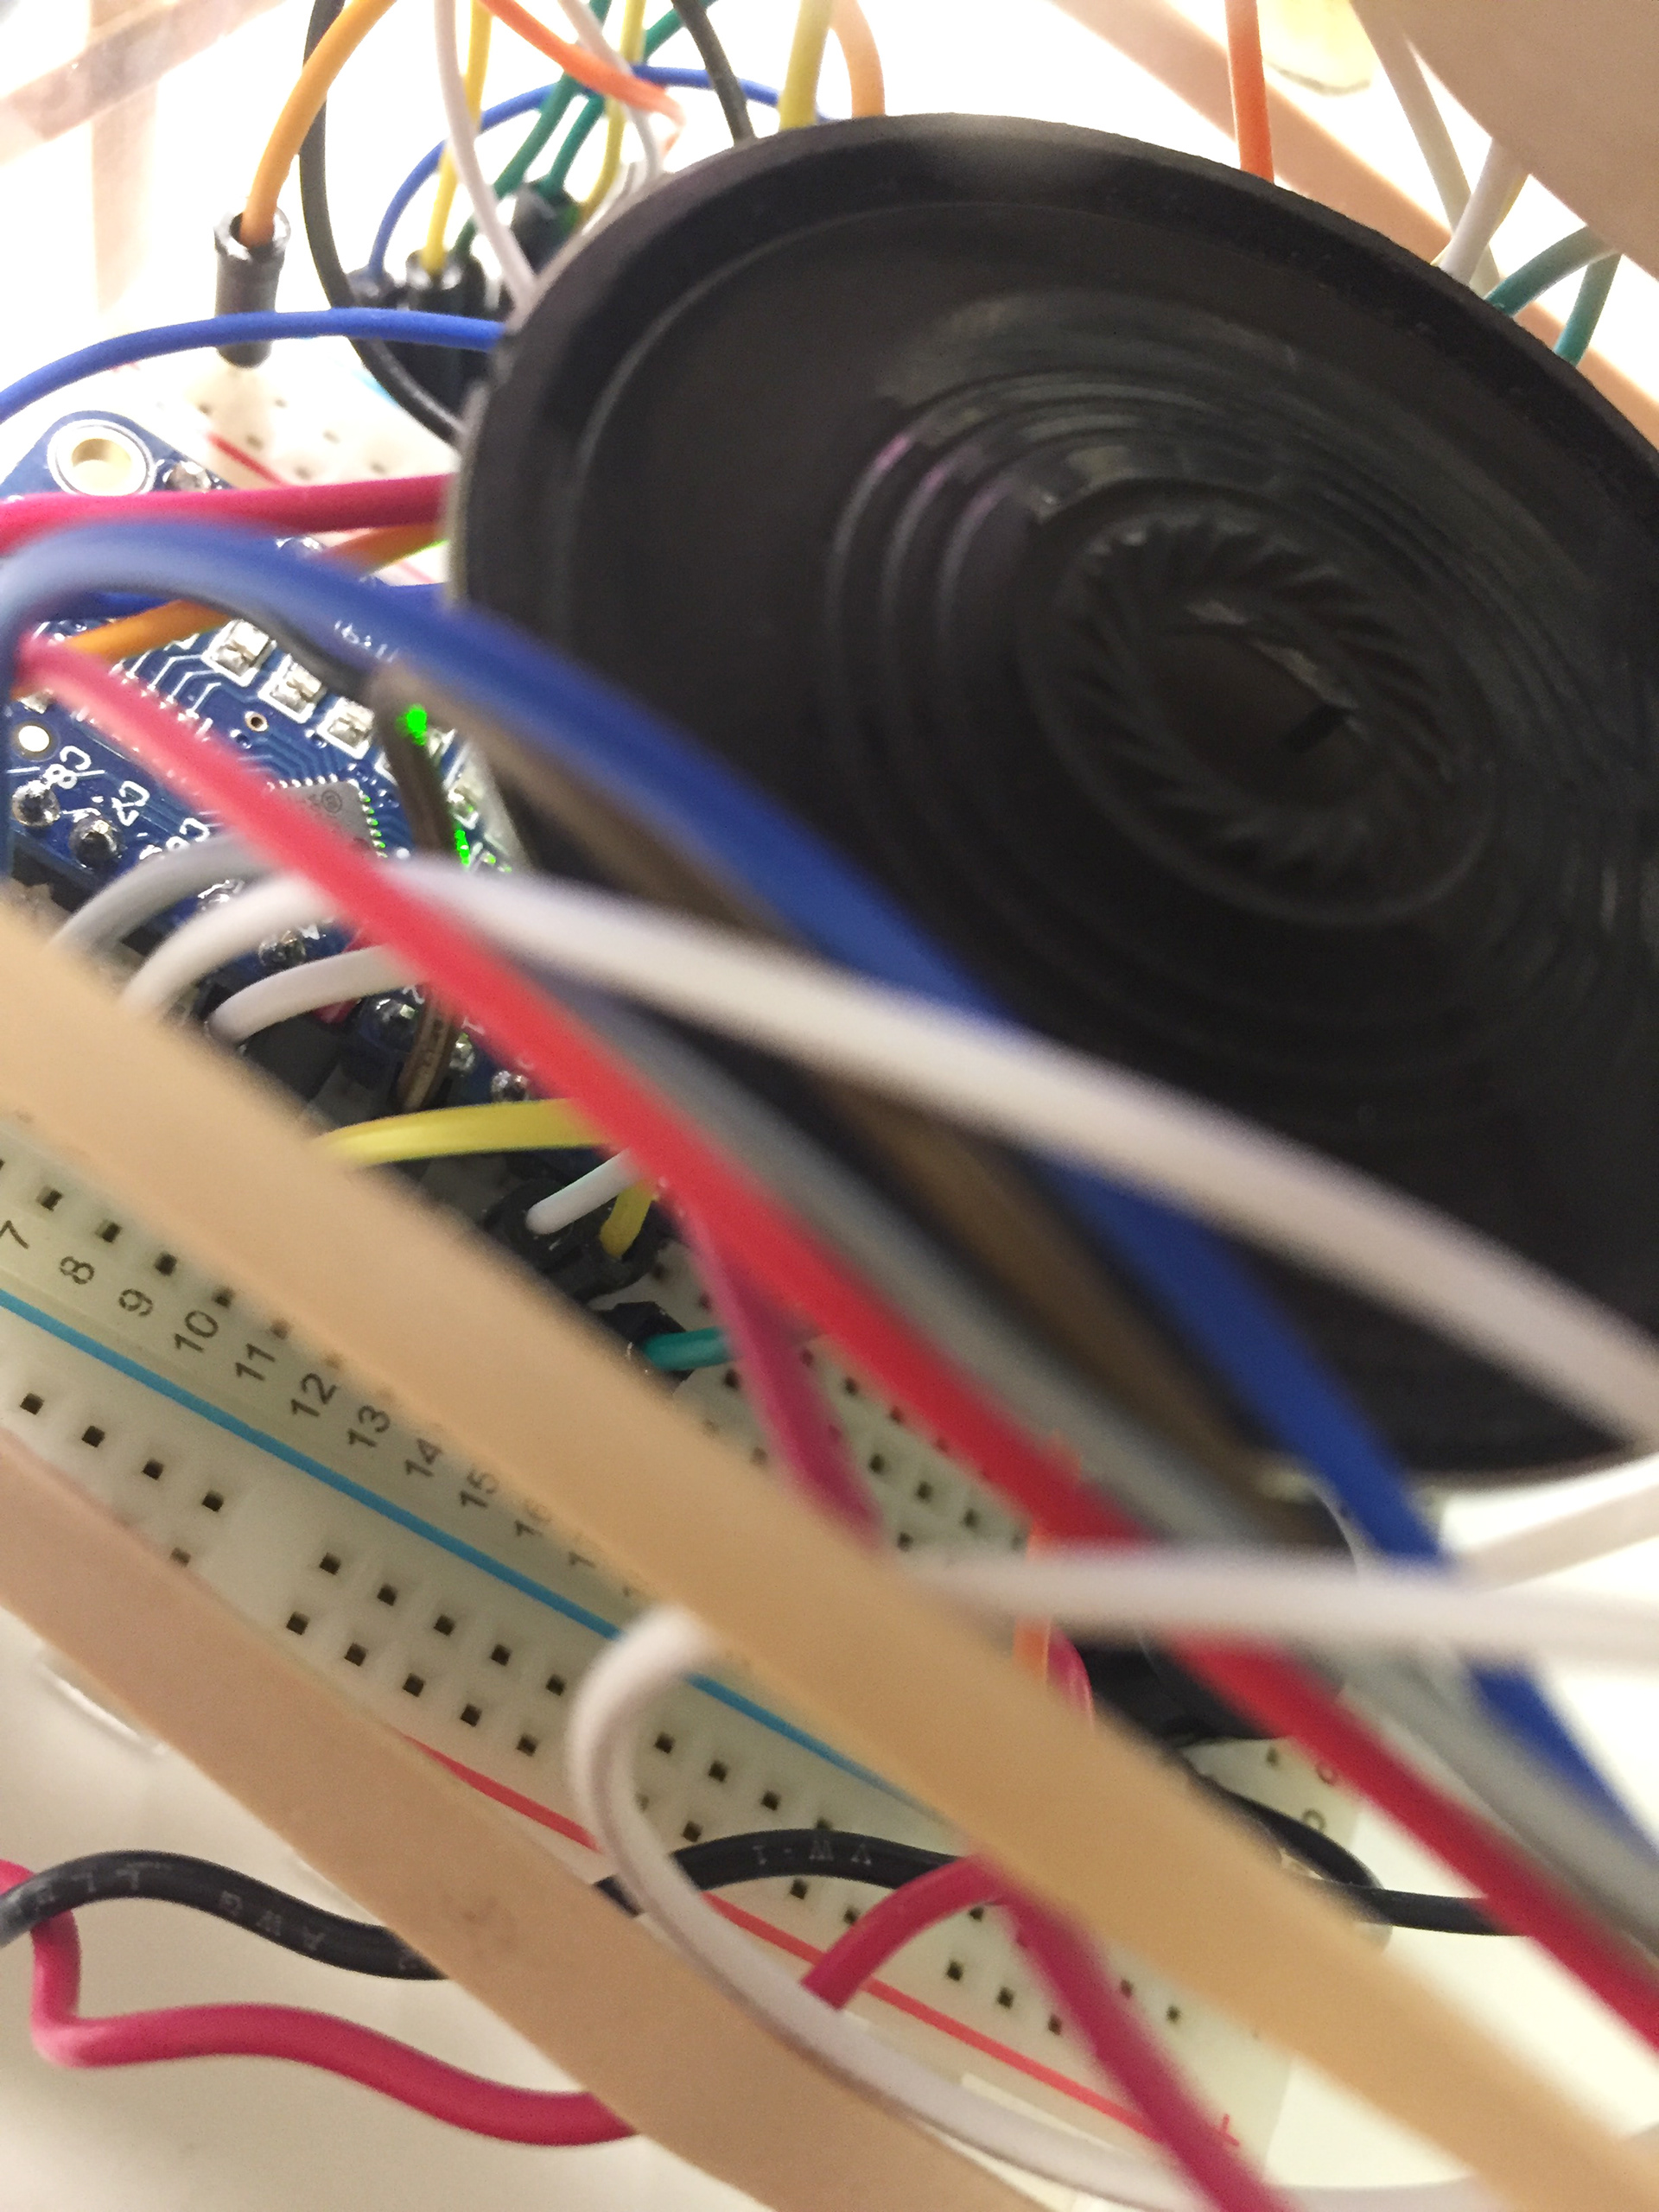
The system is compounded by simple and cheap materials in order to experiment with what we have at a hand, instead of expensive and unaccessible components.
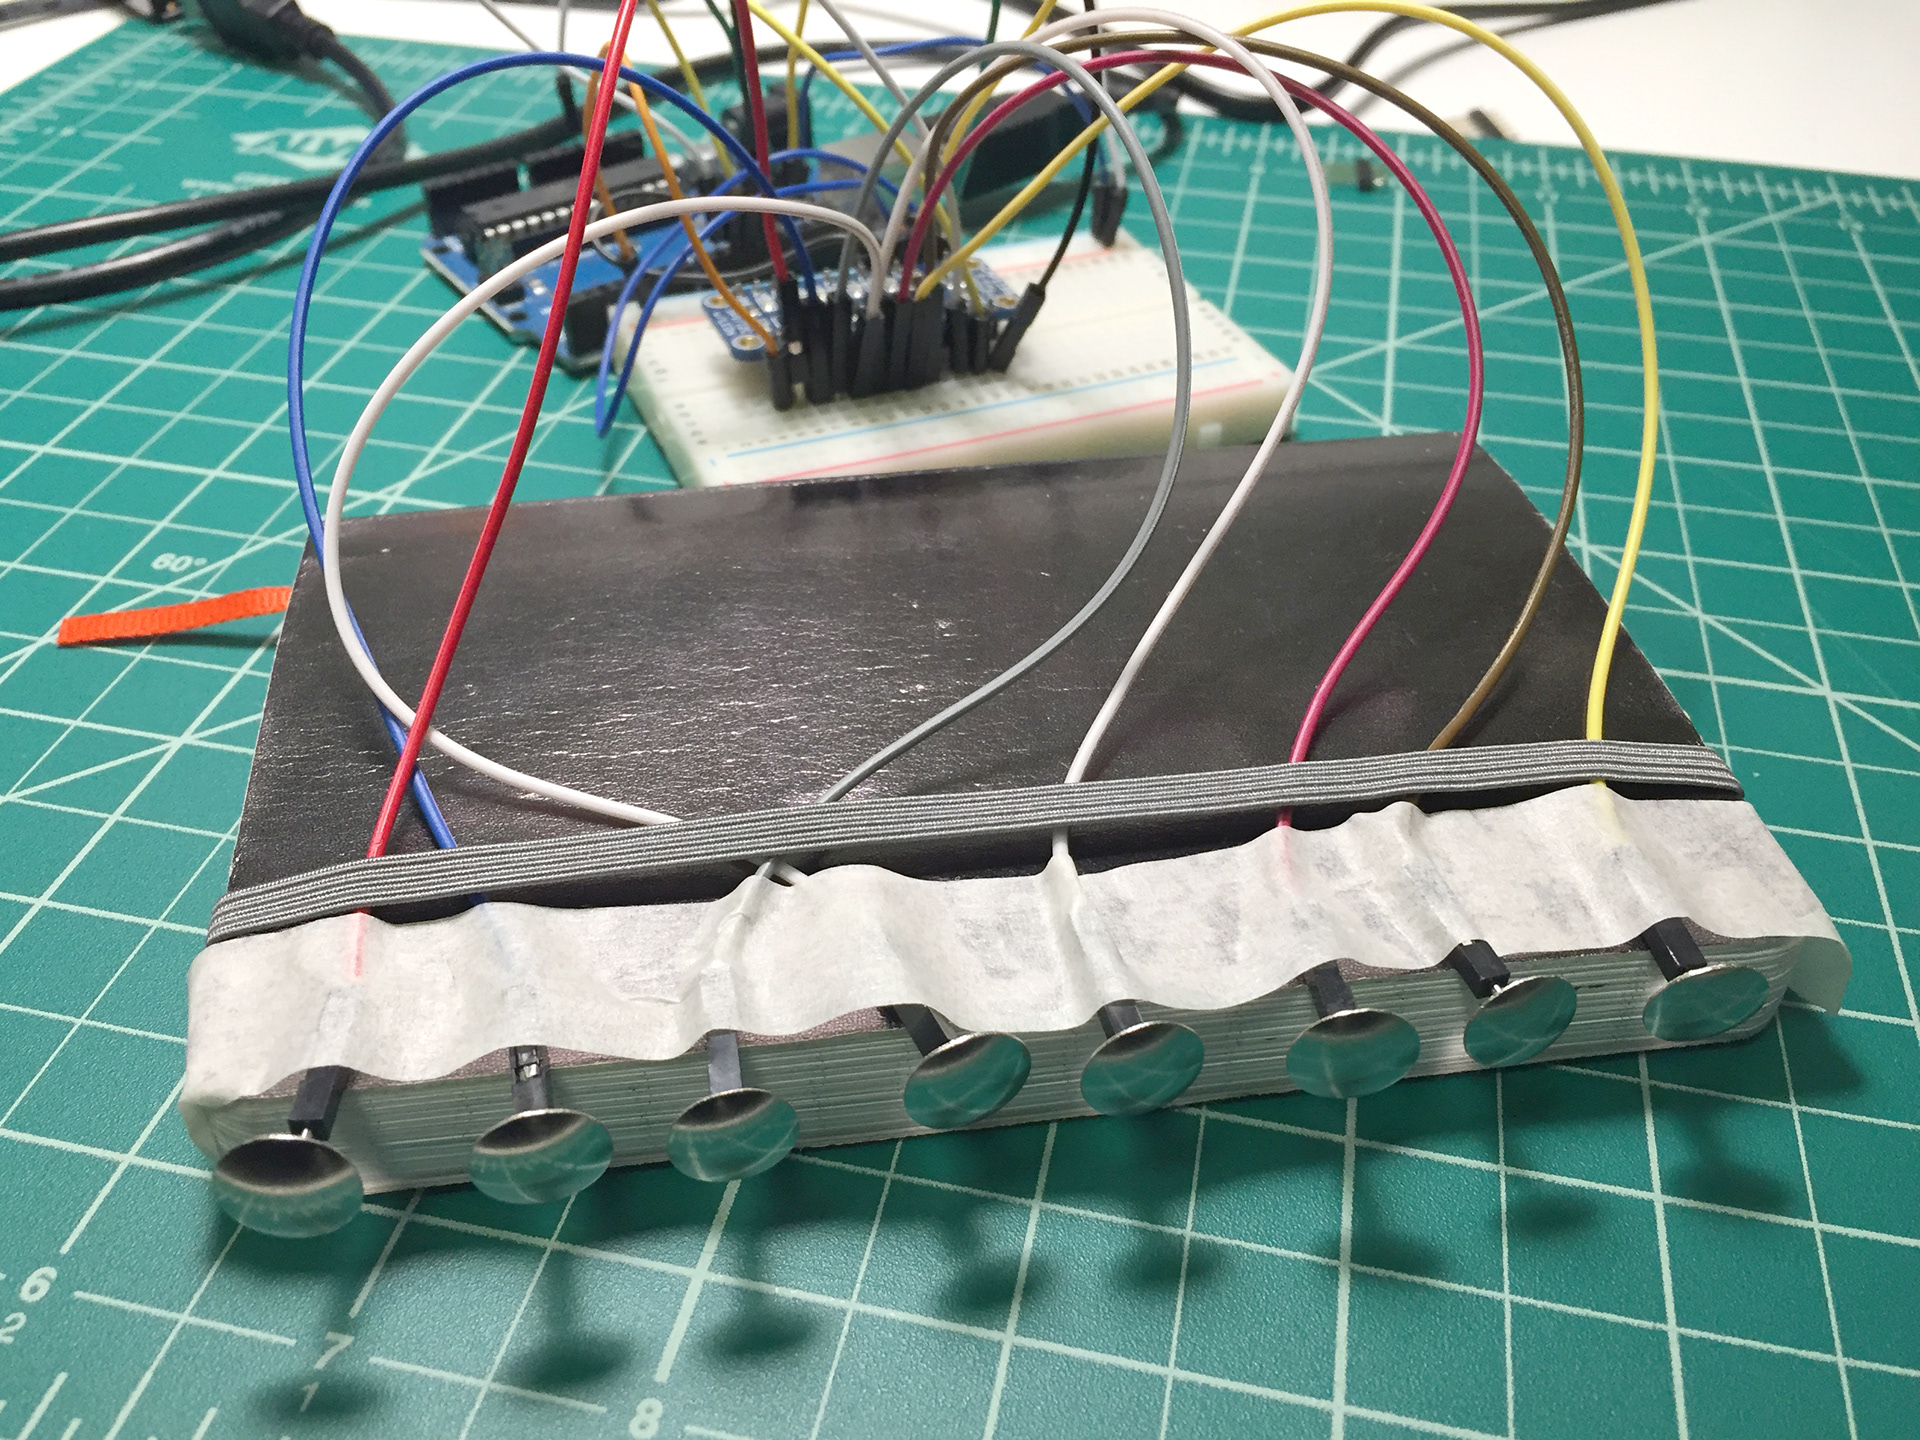
Tacks + Bubble Wrap + Cardboard + Acrylic + Rubber band
Each tack works as a capacitive sensor providing the opportunity to play different notes. Sounds can be positioned differently just unplugging the wires and plugging them again using a total different setting.
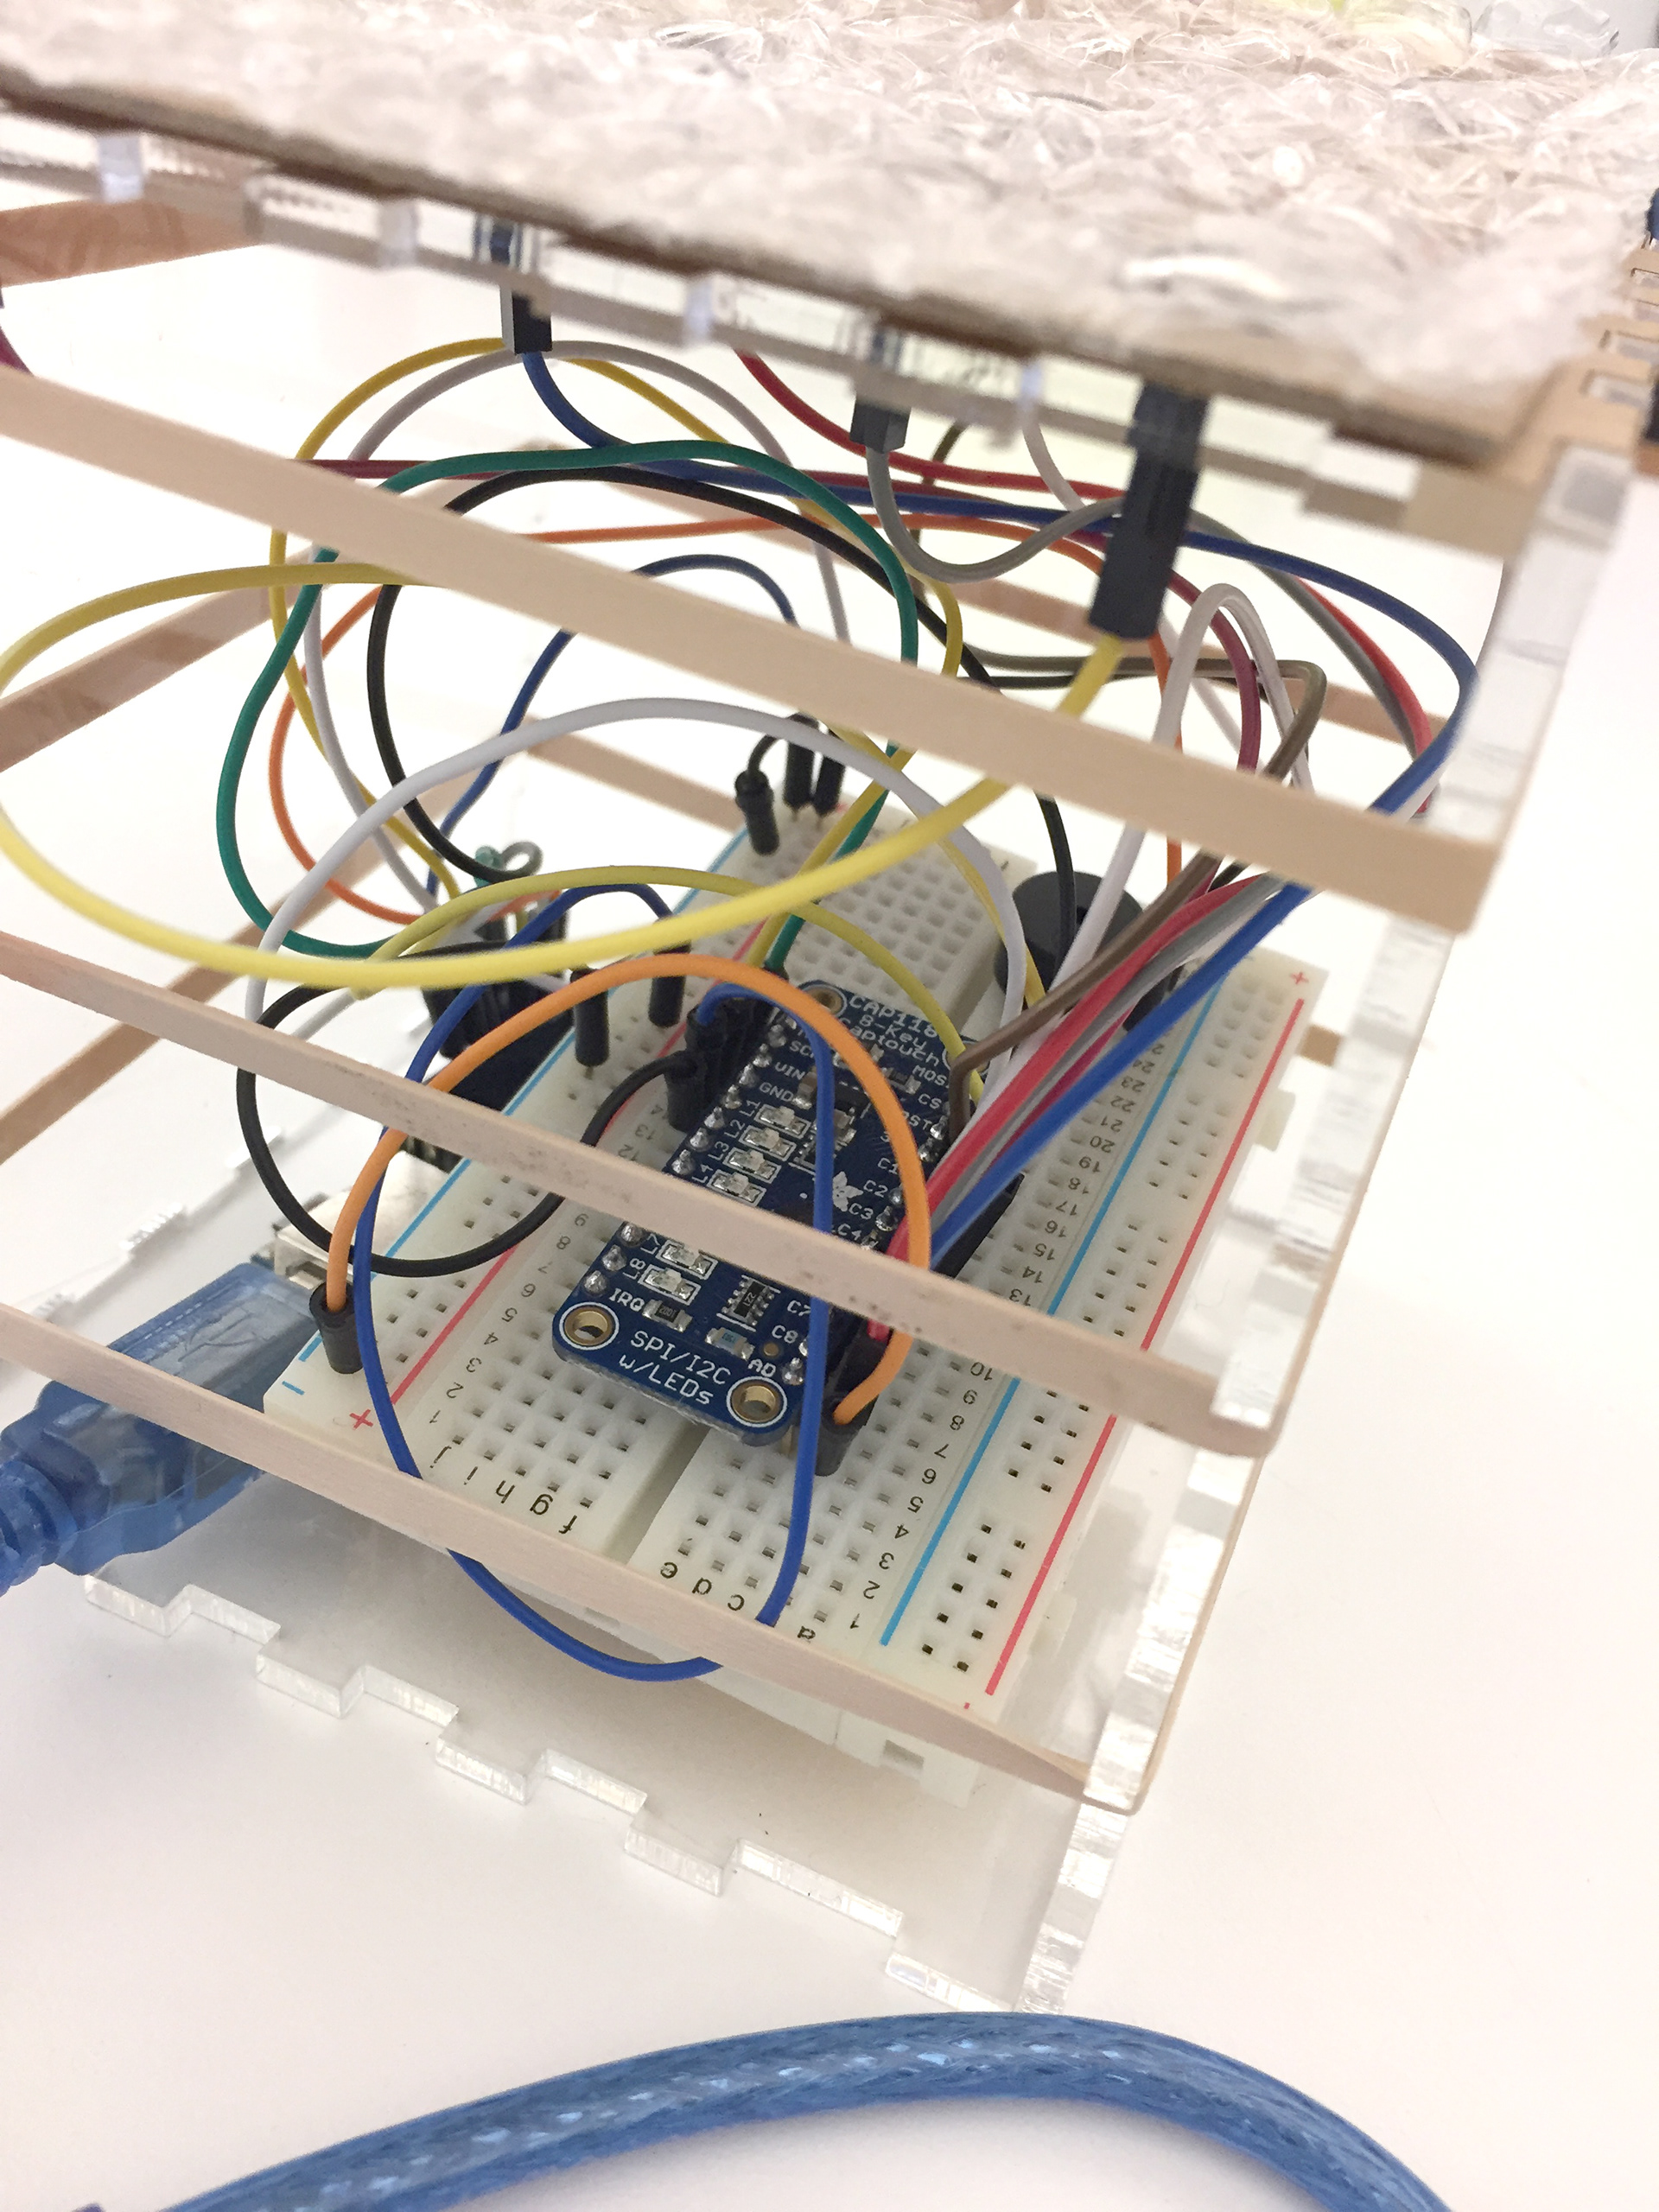
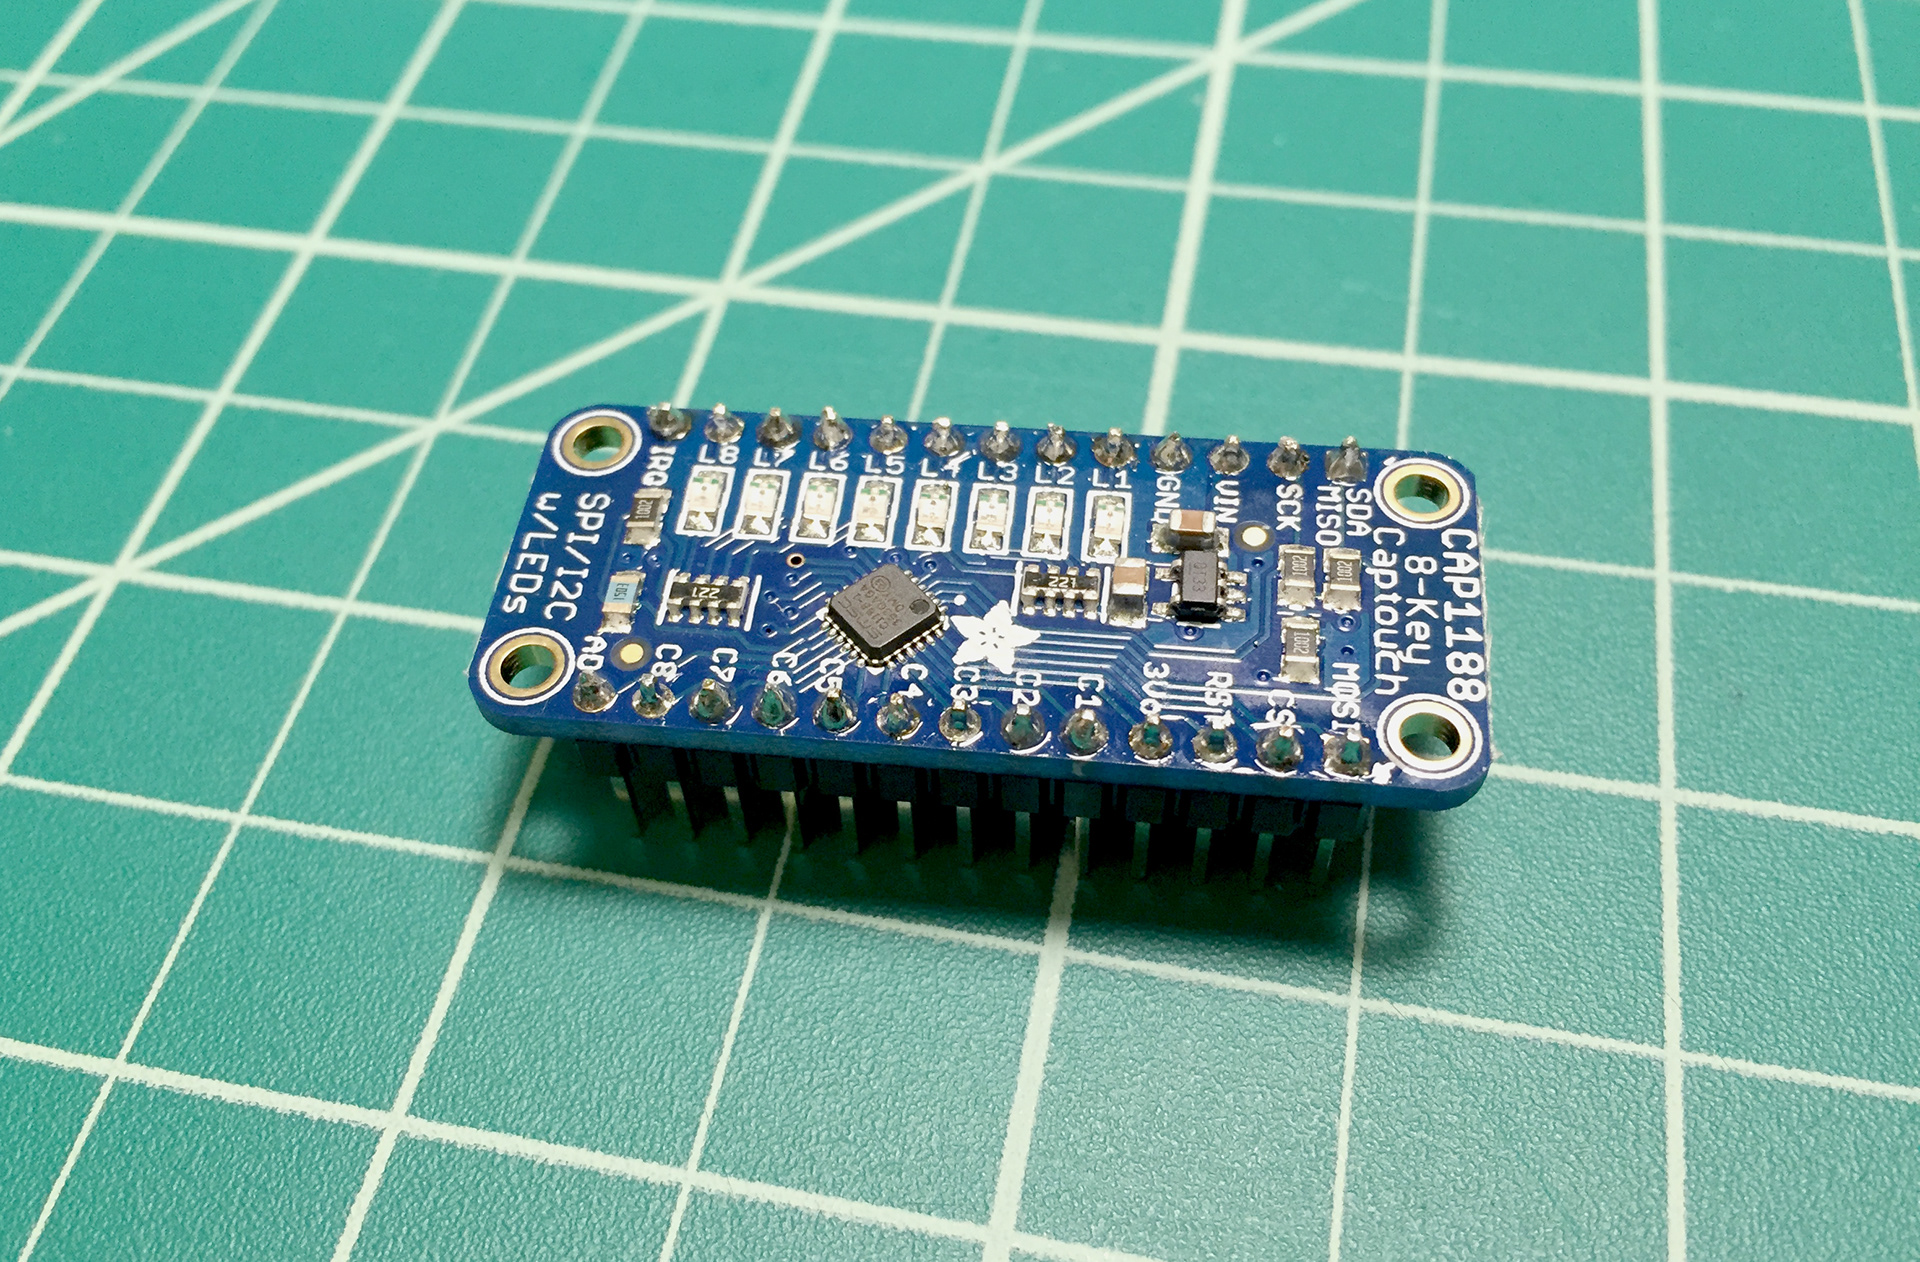
I prepared a set of 8 metallic tags and used them as capacitive sensors that trigger a different sound each. I’m using Adafruit’s library for the CAP1188 to be able to have 8 different wires. In addition, I have pitches.h that includes the different frequencies of sound that I’m playing.
Here, there is a sample of how each capacitor trigger the sound just by calling the proper element in the array.

The system allows to touch multiple elements at the same time playing the corresponding tone on a sequence.
PROCESS
1. SOLDER THE CAPACITIVE BREAKOUT
2. DESIGN THE CIRCUIT

3. TEST THE INTERFACE
4. MOUNT THE BOX
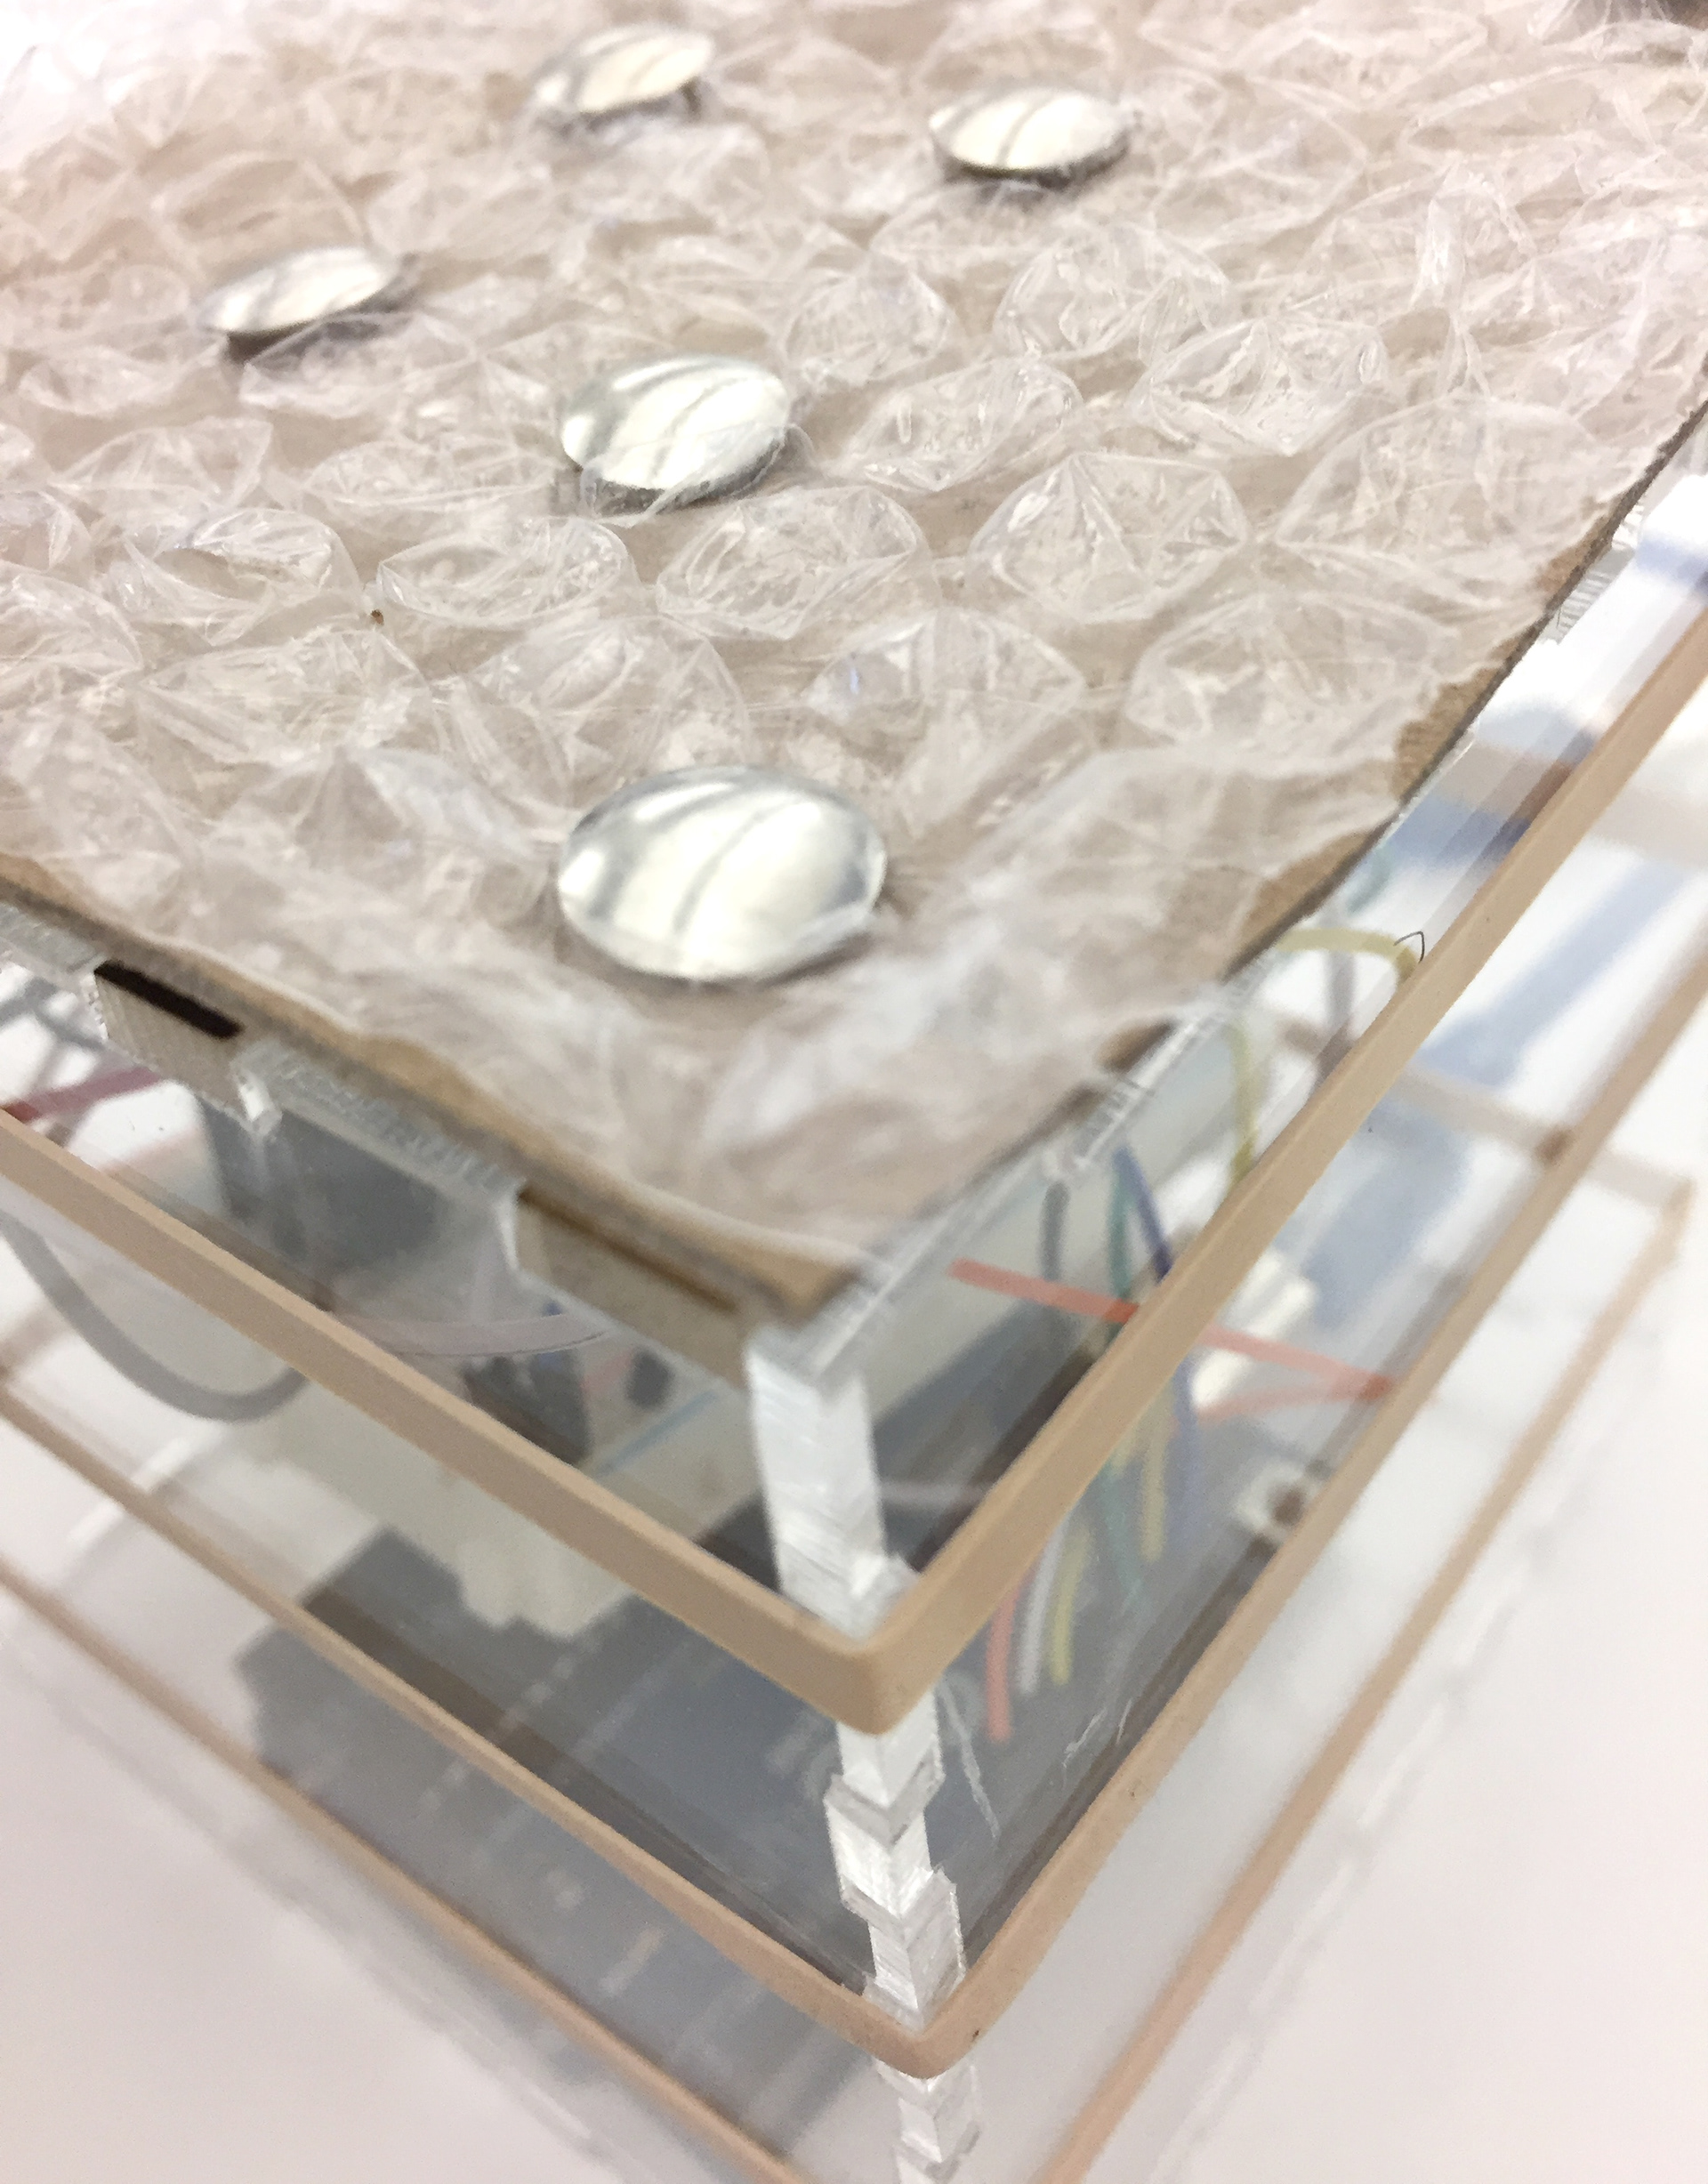
Acrylic box: Milan Gary's production
5. ADD A BIGGER BUZZER